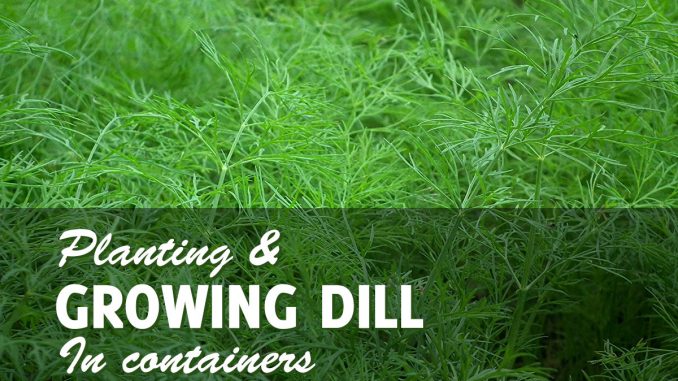
Growing dill in pots is remarkably simple. It is a marvelous herb that you can grow for culinary purposes or as a great decorative addition to your garden.
Almost the entire plant can be used for cooking! Leaves are used to flavor delicate sauces and dips, marinades, fish, and poultry dishes. The seeds are used to add a depth of flavor for pickling preparations.
Don’t worry if you can’t cook, dill can be a great accent in an ornamental garden, even if you are growing dill in pots. Those who are new to gardening need not fear because dill is very easy to germinate and care for.
Before You Start Growing Dill in Pots
You must prepare an area that has at least 4-6 hours of sun a day for growing dill in pots. Some gardeners successfully compensate for the lack of sun by placing mirrors in strategic locations so that their plants can have ample sunlight.
It also needs a place that has adequate air circulation, but at the same time, protection from strong winds and breeze. Your potting soil must also be prepared with slow-release fertilizer two weeks before sowing to make sure that the soil has ample nutrients for sustained growth.
Choosing the Right Pot to Grow Dill In
Your area will be the determinant for choosing which type of pot you would need for growing dill in containers. Regions that are cold and damp will require growing dill in terracotta pots. These pots absorb moisture from the soil.
Places that are warm and have sweltering summer would see better results from growing dill in light-colored plastic containers. Plastic is lightweight, does not absorb heat, and keeps the water in the soil during hot days.
There are also wooden containers that you can choose for container gardening, and they can be very good at insulating the taproots of the plants during extreme temperatures.
You need a container that is at least 8-10 inches deep to accommodate the aggressive tap roots formed by the dill plant. It is best that you start immediately with such a container or even a bigger one rather than transplanting the dill in a different container when it gets too large. Dill does not like having its roots disturbed, and one transplant can be very stressful for the herb.
Make sure that your container has drainage holes at the bottom. Line the bottom of the pot with pea pebbles or broken pieces of terracotta pots before placing in your potting soil. They will help with the draining of excess water to prevent drowning your plants. You can also put a fine mesh of fiberglass at the bottom to keep pests from crawling in from the bottom, especially if you are to place the containers directly on top of soil grounds.
Preparing Your Potting Mix for Growing Dill in Pots
It is advised that you buy potting soil for growing dill in pots rather than use the soil that you have in your garden. Ordinary garden soil contains many microorganisms such as bacteria, viruses, and fungus that will cause severe diseases for your herb. There are potting soil mixes that you can purchase in your local garden store that has sterile soil, compost, peat, perlite, or vermiculite. This mix is vital for retaining water and nutrients, yet the medium is light enough for efficient drainage of excess water.
Adjust the pH of the potting soil to 5.8-6.5 so that your plants will be able to take in nutrients more effectively and efficiently. Fill up your container with this mix up to 2 inches below the lip of your pot.
Starting Dill From Seeds in Pots
Planting Dill Outdoors
It is best that you start cultivating your herb from seeds directly sown on the pot you have chosen of adequate size for growing dill in containers. You can choose to start growing your dill outdoors or indoors, based on your preference. If you wish to start growing outdoors, April will be a good time to start. I recommend “Sow Right” non-gmo organic seeds.
Place a couple of seeds on the surface of the soil that has been prepared with fertilizer. Cover with ¼ to ½ inch compost and water well using a fine mist to prevent washing away the seeds. Expect germination within two weeks, and thin seedlings down, leaving one healthy herb in the container. If you have a larger container, you can grow several dill plants as long as you give them 6-9 inches of space in between.
Growing Dill Indoors
If you want a longer harvesting season, you can start growing them indoors around October but in a pot that is 3 inches in size. Place the seeds by a sunny window but away from direct sunlight and radiators. It would be best if you place a support stake at the center of the seed tray before you plant the seeds so as not to damage the roots later. You can also place the seed trays under a fluorescent or led grow light positioned just about 2 inches above the leaves for 10-16 hours a day.
Adjust the positioning of the light as the seedlings grow to make sure that it will always be 2 inches above the tallest set of leaves. Keep this up for up to 4 weeks after germination to harden the plants.
The seedlings can be transplanted in a larger pot when they are at least 6 inches tall. Also, wait until the threat of frost has passed and when the soil can remain warm for growing dill in pots. Keep them away from direct sunlight for a day or two when you move them outdoors.
Dill Transplants
You can also buy transplants from your local nursery if you do not have the patience of waiting seeds to germinate. Prepare the pot with soil that has been treated with fertilizer and watered well. Dig a hole at the center and make sure that the topsoil level of your transplant is 2 inches below the lip when you place it in the hole.
Carefully remove the dill from its container, making absolutely sure that you do not disturb the roots. Cover with soil, keeping the same soil level, tamping as you go. Water well and apply diluted all-purpose liquid fertilizer.
Keep away from direct sunlight for a day or two after transplant to ease the transition and lessen the stress of transplantation.
Care for Your Pot Grown Dill
Make sure to water often, especially during warm and dry days. Before you water, make sure that the soil is dry at least 1 to 2 knuckles down to prevent drowning your plants. Give liquid fertilizer such as fish emulsion or compost tea every two weeks, or give them slow-release 15-15-15 granulate fertilizer.
Harvesting Your Dill Grown in Pots
You can harvest your dill eight weeks after sowing. Your plants will then produce flowers, and this will result in slower or ceased leaf production. Dill can be harvested by snipping leaves every time you need them. But if your dill has produced flowers, you may want to harvest the entire plant one inch above the ground. Some dill will reproduce even after such drastic harvesting, but you may want to sow dill every 3-4 weeks to ensure a year-round supply of the herb.
Storing Fresh Dill
The leaves can be stored in the freezer for up to 6 months. You can also dry them, but storing them in the freezer is the best way to keep its fresh flavor.
Know what goes great with dill? Asparagus! Check out our guide on growing asparagus in containers.


Be the first to comment